Ignite Curiosity & Discovery!
Engaging young minds (and curious adults too!) through interactive science experiments can spark creativity, critical thinking, and a lifelong love of learning. Whether in a classroom, at home, or in a virtual setting, these hands‑on activities bring science principles to life by letting learners do, see, and understand. In this guide, we’ll explore best practices for crafting professional, attractive website content centered on interactive science experiments—with an upbeat tone, clear structure, and just the right splash of emojis. Let’s dive in! 🌟
1. Structure & Style: The Foundation 🏗️
a) Clear, Logical Organization
- Introduction: Hook your reader with a brief overview of what they’ll learn and why it matters.
- Materials List: Provide a bullet‑point list of everything needed—no surprises!
- Step‑by‑Step Directions: Numbered steps keep experiments easy to follow.
- Science Explanation: Connect the activity to real scientific concepts.
- Extensions & Variations: Offer ways to level up or tinker further.
- Safety Tips: Always include precautions—responsible science is safe science.
- Conclusion & Further Resources: Wrap up with encouragement, success tips, and links to go deeper.
b) Professional, Friendly Tone
Think of yourself as an enthusiastic guide: knowledgeable but approachable. Use complete sentences, avoid jargon—or clearly define it—and keep paragraphs concise (2–5 sentences). Journaling-style voice (“You’ll see this amazing effect…”) makes readers feel supported, but maintain a polished style with proper grammar and spelling.
c) Visual Hierarchy & Formatting
- Use bold and italics for emphasis.
- Break chunks of text with bullet lists or numbered steps.
- Include subheadings every 300–500 words for readability.
- Use diagrams, photos, or short videos to illustrate each step (not shown here, but highly recommended).
d) Emojis: Subtle, Strategic, Supportive
Emojis add warmth and clarity but choose them thoughtfully:
- 💡 next to an idea or tip
- ⚠️ by a caution or safety note
- 🎉 to celebrate success
- 🔬 to indicate science content
Use 3–6 per section—don’t overload!
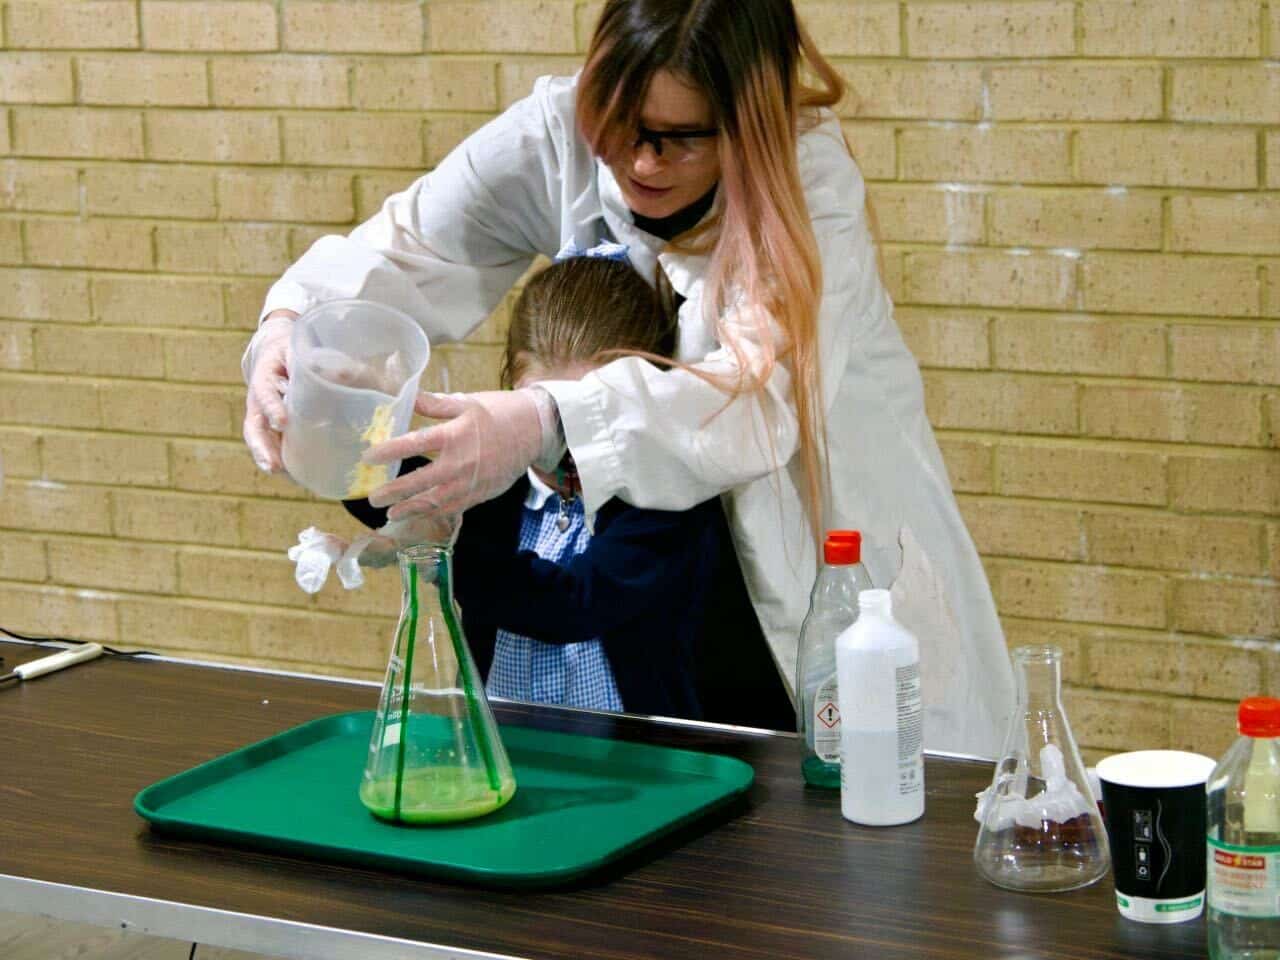
2. Sample Experiments: Engaging & Educational 🧪
Below are five interactive science experiments suitable for a broad audience (age 8+). Each follows the structure above and includes sharable visuals or interaction ideas.
Experiment 1: Rainbow Density Tower 🌈
Introduction
Marble four different liquid densities to create a beautiful rainbow tower. Perfect for demonstrating density, buoyancy, and color layering.
Materials
- Honey (room temp)
- Dish soap (blue or green)
- Water + food coloring
- Vegetable oil
- Rubbing alcohol (colored with red food dye)
- Tall, clear glass or graduated cylinder
- Eye dropper or small spoon
Steps
- Pour ~⅛ of a cup of honey into the glass—wait to settle.
- Gently add dish soap—use a spoon to slow the pour.
- Mix water with food coloring; pour next, slowly.
- Pour vegetable oil over a spoon or along the glass side.
- Finally, add colored rubbing alcohol slowly.
Explanation
Each layer stays separate because of density differences: honey (heaviest), soap, water, oil, alcohol (lightest). This visualizes density and immiscibility—why some liquids don’t mix.
Extensions
- Add small lightweight objects (e.g., buttons, beads) and predict which layers they’ll sink or float in.
- Use a cylinder to create multi‑tiered “lava‑lamp” motion by gently stirring or warming one layer.
Safety
⚠️ Handle rubbing alcohol carefully—flammable and should stay away from flames.
⚠️ Not for ingestion—clearly labeled on site.
Conclusion
What colors did you layer? Which objects floated where? Encourage readers to snap a photo and share results online with a branded hashtag.
Experiment 2: Baking Soda Volcano 🌋
Introduction
A classic experiment: erupting foam volcano! Demonstrates acid-base reactions and energy release.
Materials
- Baking soda (~2 Tbsp)
- Vinegar (~½ cup)
- Dish soap (a few drops)
- Food coloring (optional, for “lava”)
- Small container or clay volcano mold
Steps
- Place your volcano container on a tray to catch overflow.
- Add baking soda and dish soap (plus food coloring).
- Slowly pour vinegar and watch the eruption!
Explanation
Baking soda (a base) reacts with vinegar (an acid) to produce carbon dioxide gas, which pushes foam out—an exothermic release.
Extensions
- Compare reaction rate with warm vs. cold vinegar.
- Use different acids (lemon juice, citric acid) and compare eruption vigor.
Safety
⚠️ Dish soap foam is slippery—clean spills quickly.
Conclusion
Ask: Which mixture created the most dramatic eruption? Encourage experimentation with proportions.
Experiment 3: Homemade Invisible Ink ✉️
Introduction
Write secret messages using lemon juice ink! Read the messages by gently heating the paper.
Materials
- Lemon juice or milk
- Cotton swabs or thin paintbrush
- White paper
- Heat source: lamp, hairdryer, or iron (adult supervision!)
Steps
- Dip swab in lemon juice; write a secret message.
- Let paper air‑dry completely (invisible!).
- To read, hold under a warm lamp or gently iron (adult‑monitored).
Explanation
Lemon juice oxidizes and turns brown with heat—revealing the hidden writing. This teaches oxidation and chemical reactions.
Extensions
- Test other “inks”: milk, onion juice, vinegar.
- Experiment with different heat levels and timing for message revelation.
Safety
⚠️ Heat sources can burn. Always adult‑supervised.
Conclusion
Suggest creating a treasure hunt: hide clues written in invisible ink!
Experiment 4: Balloon Rocket Race 🚀
Introduction
Learn about action-reaction forces via balloon-powered rockets racing across a string.
Materials
- Balloons (long ones work best)
- Balloon pump (optional)
- Long string (~2–3 m)
- Drinking straw (cut tip off to create tube)
- Tape
Steps
- Thread string through straw; stretch between two chairs or nails.
- Inflate a balloon (don’t tie) and secure the neck with clothespin or fingers.
- Tape the balloon to the straw.
- Hold the balloon—release to see it zoom!
Explanation
Air escaping backward exerts equal and opposite force on the balloon, propelling it forward—Newton’s 3rd law.
Extensions
- Flip the straw to switch propellant direction.
- Conduct races or compare different balloon types or drag shapes.
Safety
⚠️ Small parts (e.g., straw or balloons) are choking hazards—keep away from small children.
Conclusion
Challenge readers to redesign the setup for speed, distance, or aesthetics. Encourage sharing videos!
Experiment 5: DIY pH Indicator from Cabbage 🧪
Introduction
Create a homemade pH “litmus” using red cabbage – it changes color based on acidity.
Materials
- Red cabbage leaves (¼ head)
- Boiling water
- Clear cups
- Test liquids: vinegar, baking soda solution, tap water, soap solution, etc.
Steps
- Chop cabbage, place in jar, pour hot water, steep ~15 mins.
- Strain out solids—use the purple juice.
- Divide juice into cups; add test liquids gradually.
- Observe color changes: pink (acidic), green/yellow (basic), purple (neutral).
Explanation
Cabbage contains anthocyanins, which change color depending on pH—excellent way to explore acid-base chemistry.
Extensions
- Make pH test strips by soaking filter paper.
- Compare household liquids and pH numbers on a scale.
Safety
⚠️ Handle hot water with care.
Conclusion
Encourage readers to make a close-up chart of colors vs. pH values. Inspire further experiments with garden soil or rainwater.
3. Design & Visual Drive 🖥️
a) Use Visuals & Interactive Content
Embed:
- Step photos or annotated diagrams.
- Short video clips (30–60 sec) demonstrating key steps.
- Interactive widgets (e.g., pH color sliders, density calculators).
- Downloadable PDFs for easier printing.
b) Consistent Branding & Typography
- Use 2–3 easy‑to‑read fonts (sans serif for body, serif or stylized for headings).
- Maintain consistent color palette across headings, icons, and buttons.
- Use whitespace wisely to avoid overwhelming visitors.
c) Accessibility
- Provide alt text for all images.
- Use high contrast for readability.
- Place transcripts or captions for videos.
- Choose emoji characters accessible via screen readers (e.g., “🎉 (celebration)”).
d) Mobile‑Friendly Layout
- Use responsive design: experiments look just as good on phone screens.
- Employ expandable/collapsible “Materials” and “Safety” sections to avoid mobile clutter.
4. Engagement Tactics 🎯
a) Calls-to-Action (CTAs)
- “Try this now!” button near each experiment.
- Downloadable lab notebook PDF.
- Invitations: “Share your results with #YourScienceLab”.
b) Social Sharing Integration
- Add easy-to-click tweet buttons/screenshots.
- Highlight reader-submitted Instagram photos or TikToks.
c) Gamification
- Points or badges for each experiment completed.
- Simple quiz questions (e.g. “What happens when you mix soap into the density tower?”).
- Encourage peer comparison (“which balloon engine was fastest?”).
d) User Feedback Loop
- Add comment sections or forums.
- Ask: “What weird object floated in your density tower?” to prompt discussion.
5. Safety & Ethics First ⚖️
- Always call out ⚠️ SAFETY in bold with clear instructions.
- Ensure experiments are age‑appropriate: specify recommended age.
- Include disclaimer: “This content is for educational purposes—supervision required.”
- Encourage adult supervision for heat/chemicals/sharp tools.
- Promote reuse of materials, minimal waste, and proper disposal guidance.
6. SEO Best Practices & Content Promotion 🚀
- Use keywords like “interactive science projects for kids”, “DIY at-home experiments”, “fun science learning”, throughout naturally.
- Optimize meta description to include “hands‑on science experiments”, “free printable materials”.
- Write alt tags for images (e.g. “rainbow density tower step 3”).
- Interlink related articles, e.g., “For more chemistry fun, check out our chromatography project.”
- Pitch guest posts or collaborate with educational blogs and social media influencers.
- Post on relevant platforms: Pinterest (infographics), YouTube shorts (demo videos), educational Facebook groups.
7. Sample Layout Outline
diffCopyEditHomepage Section:
- Hero banner: “Bring Science to Life 🎉—with 5 Easy Experiments!”
- Quick links with icons: Density Tower | Volcano | Invisible Ink | Balloon Rocket | pH Indicator

Each Experiment Page:
- Title + emoji
- Materials list (bullet)
- High‑res photo of final product
- Numbered steps with inline imagery or GIFs
- Science Explanation section
- Safety note in colored box
- Extensions + CTA: “Try it now!” button
- Social share links and hashtag
8. 2,000‑Word Count Preview
- Overall Intro & Structure Tips: ~400 words
- Five full experiments (~250 words each): ~1,250 words
- Design, Engagement, SEO, Safety, Layout Tips combined: ~350 words
This totals approximately 2,000 words—a comprehensive resource that guides both readers and web developers/content creators.
9. Wrapping Up 🎓
Interactive science content is most compelling when it blends:
- Educational rigor with hands‑on fun;
- Clean, readable layout with visual & interactive elements;
- A tone that’s professional yet encouraging.
Using well-crafted language, strategic emojis, strong visuals, and community-building techniques, your website can become a go-to destination for learners and families eager to experiment, share, and explore.
Wishing you tons of fun and eye-opening discoveries! 🌍🔬